How to Carve a Turkey
Whether you’re googling “how-to carve a turkey” or need a quick refresher, we have the simple steps you need to know to make carving the turkey easy work. Katie Workman, the creator behind The Mom 100, put together a guide to help walk you through this important job. Her advice? Don’t be intimidated, don’t rush and think about it one step at a time. You’ve got this!
How Long to Rest Turkey Before Carving
When you are planning your turkey cooking time remember to allow for at least a 1/2 hour and up to 1 hour for the turkey to rest after you have removed the turkey from the oven. You can let it rest on the rack in the pan, or on a cutting board with a moat to catch the juices.
This will allow the turkey to re-absorb the juices so they won’t run out onto the cutting board when you cut into it, leaving you with dry turkey. Letting the turkey sit for this length of time will ensure juicy turkey, especially the turkey breast, which cooks faster than dark meat, and which can tend to lose its moistness when sliced too quickly.
Don’t tent the turkey with foil, which can make the skin soggy. Letting the turkey sit uncovered preserves the crispness of the skin.
Where to Carve the Turkey
We’ve all seen the Norman Rockwell-esque images of a whole turkey being presented at the table, carved right in front of the seated guests. If you are not in a hurry and you have a lot of turkey carving confidence and loving family and friends, go for it.
However, because it usually takes a lot of space I prefer to do it in the kitchen. As the turkey is cut into smaller pieces, and then those smaller pieces are sliced up, I usually move the pieces from the main cutting board to a smaller cutting board or platter, then return them to the larger cutting board for the final slicing, after wiping down the board. After that, the turkey gets arranges on the clean serving platter, with garnishes.
All of this takes time and space, and can be somewhat messy so my advice is to take care of this in the kitchen while others get the rest of the dishes to the table or the buffet.
Best Knife for Carving Turkey
You can either use a carving knife or a chef’s knife, at least 8-inches long, preferably 10 inches. Whatever knife you pick, the sharper the better. You’ll want a knife that isn’t too thin or too thick.
I do not recommend a serrated knife, or an electric carving knife, which I think tends to shred the meat, instead of slicing cleanly.
How to Carve a Turkey Step-by-Step
Here’s how to carve a turkey like a pro!
Make sure to tip the turkey before you remove it from the roasting pan to pour any juices that have accumulated in the turkey back into the roasting pan, where they will become part of the gravy or the au jus. Remove any trussing strings or closures if you used them.
If you have ingredients stuffed into the bird, like herbs, onions, or citrus, remove and discard them – they will have done their job of seasoning the turkey and the pan juices.
Set Up a Carving Station:
These are the things to have on hand when carving a turkey:
- Paper towels
- Clean dishtowels
- A large cutting board
- A serving platter
- An additional platter or cutting board to hold the pieces as you remove them from the turkey
- A carving knife
- A sturdy fork
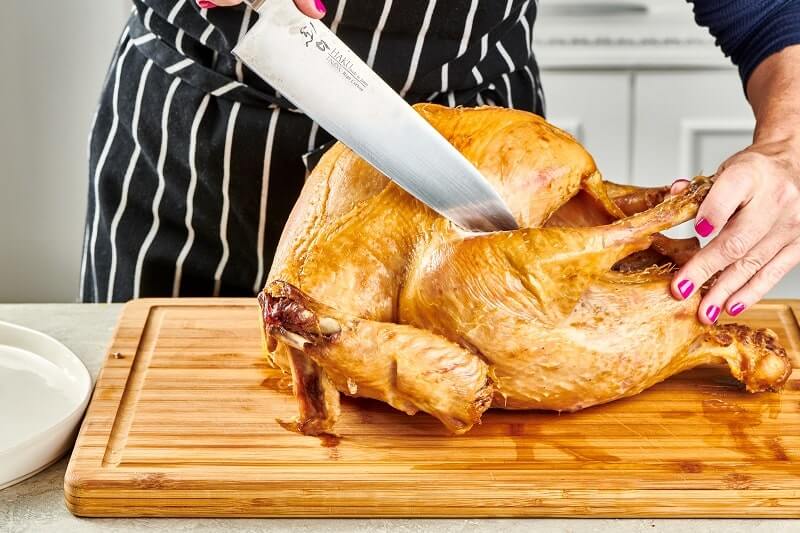
Step 1: Remove the legs.
Remove the thigh and leg together. Place the turkey breast side up on a carving board with a moat to catch the juices. Using a carving knife or a large sharp chef’s knife, cut through the skin between a leg and the body of the bird. Gently pull the leg outward to locate the joint where the thigh meets the body. Cut through the joint separating the leg from the body. Remove the second leg in the same way. Place them to the side.
Step 2: Remove the wings.
Remove the wings in the same way you removed the legs. If the wings are tucked behind the bird, untuck them. Using your knife, cut through the skin between a wing and the bird. Gently pull the wing outward, then cut through the joint separating the wing from the body. Remove the second wing. Place them on the serving platter.
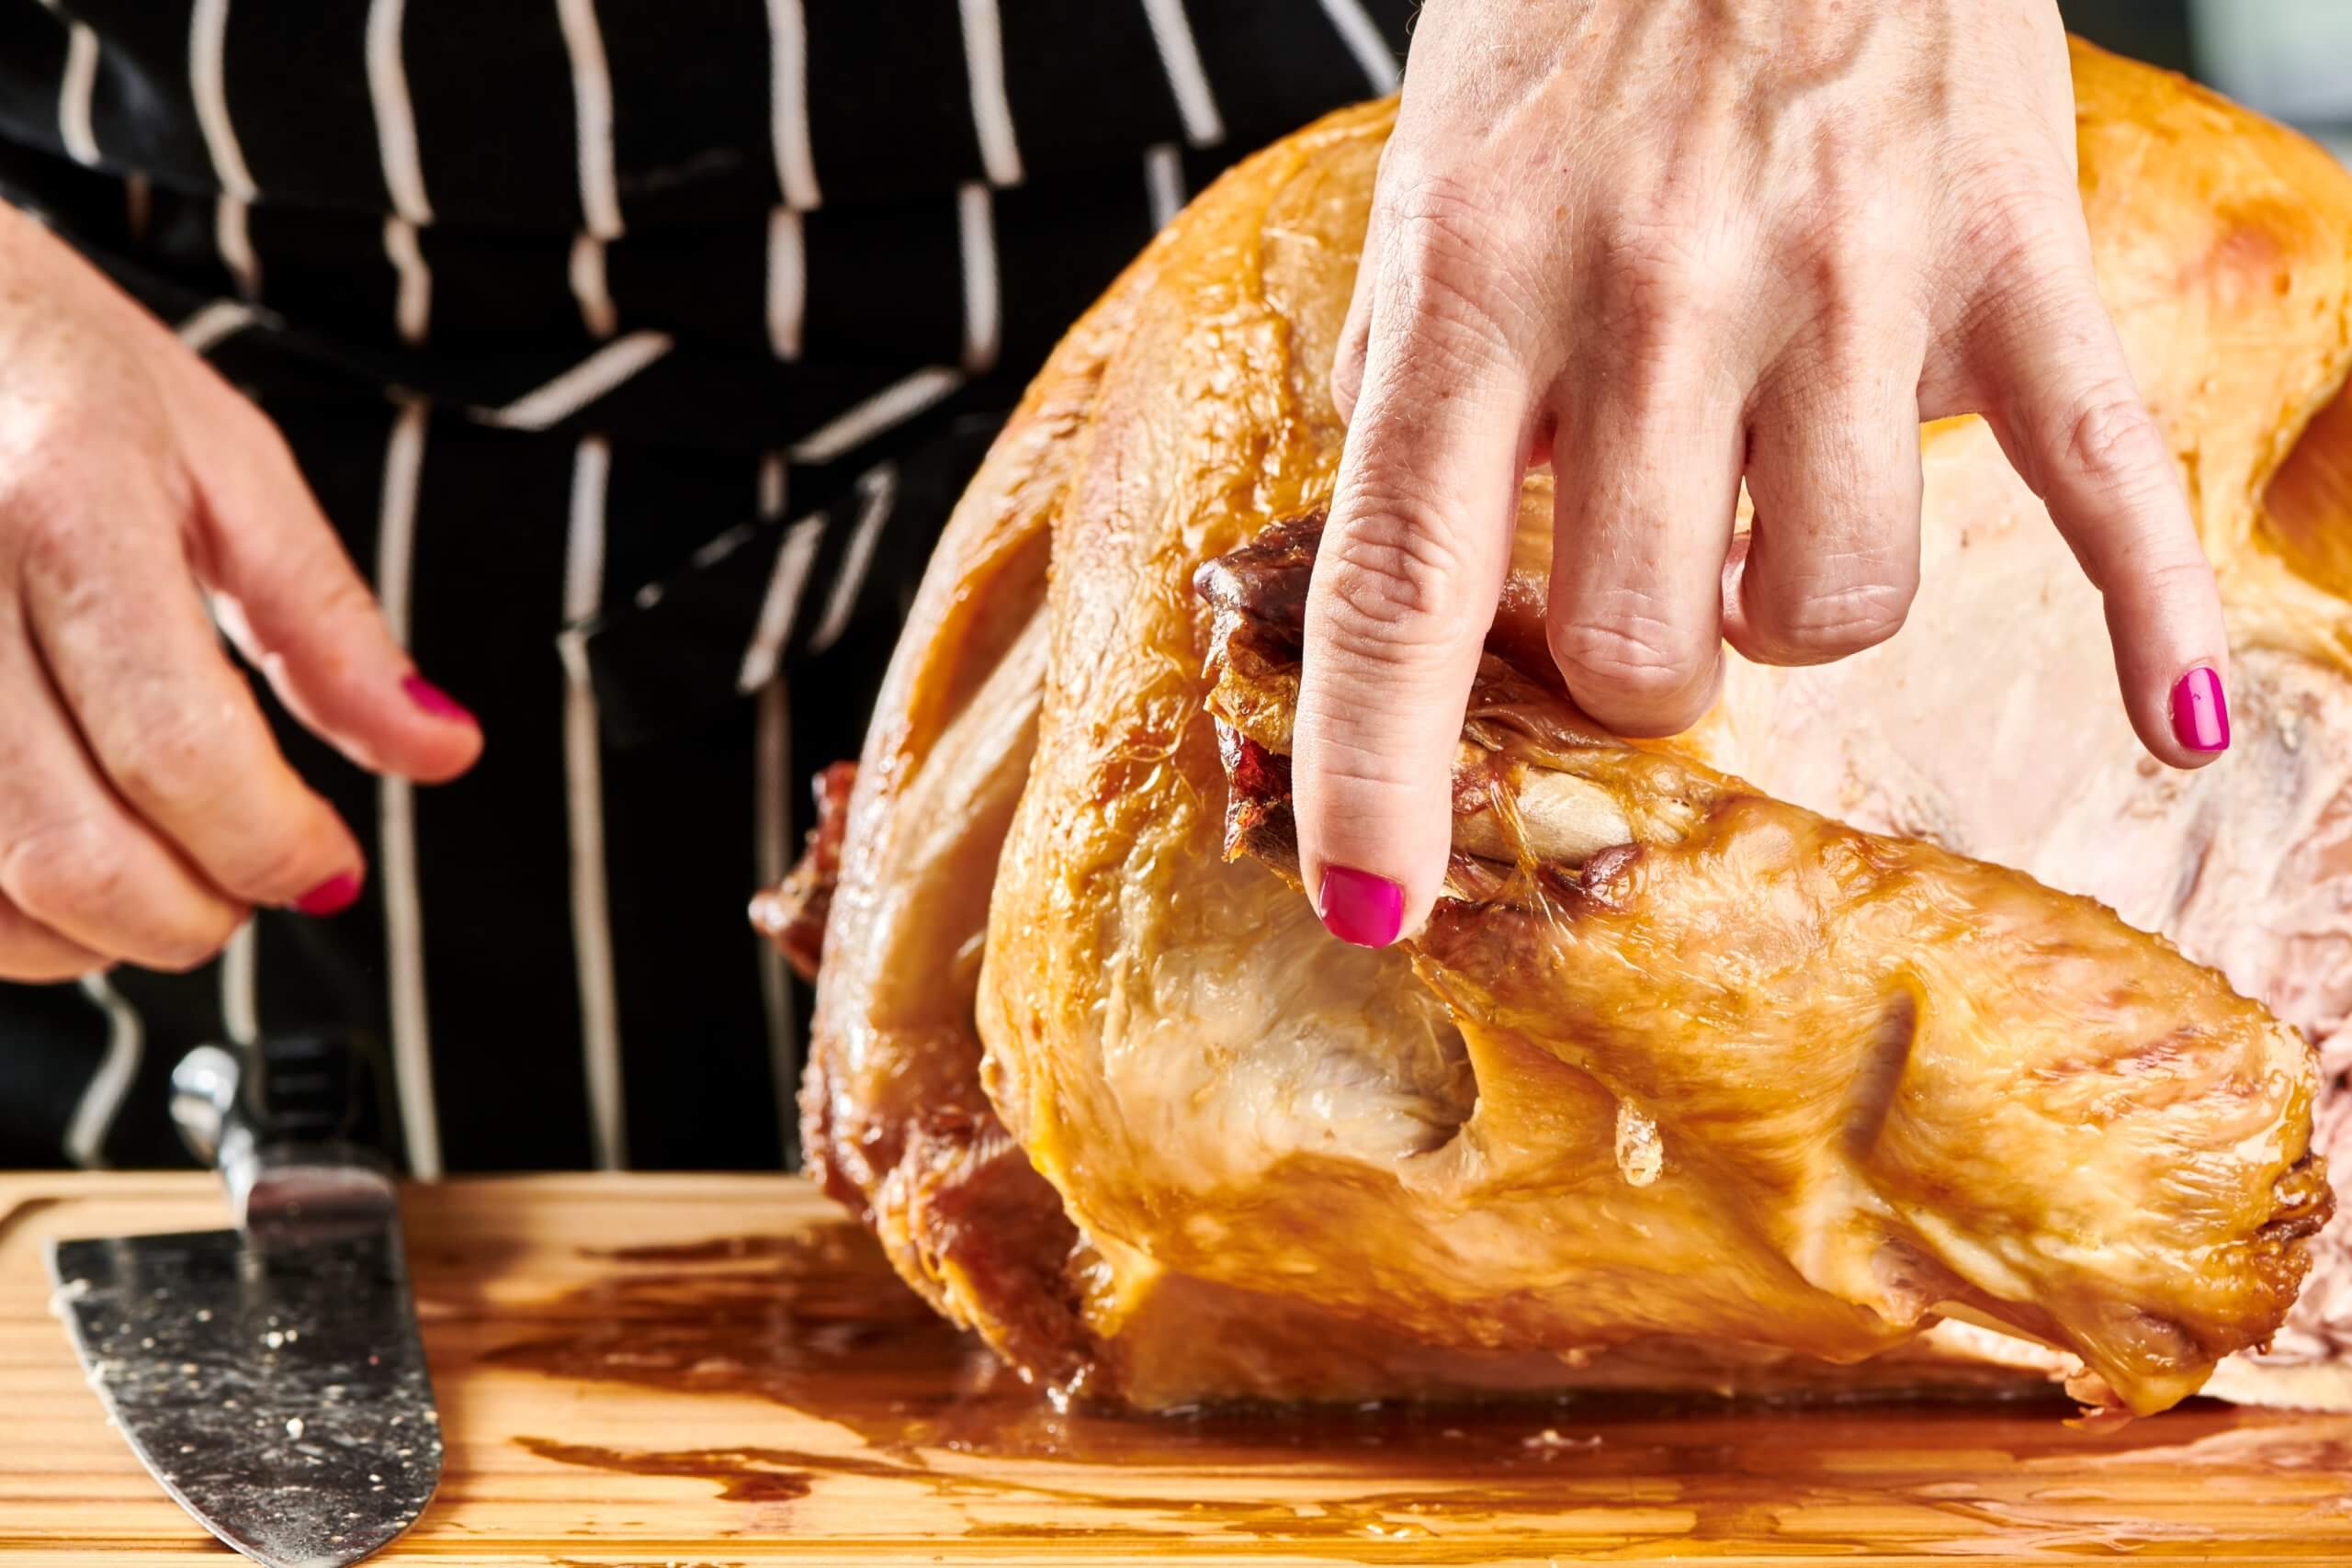
Step 3: Remove the breasts.
Use a sturdy fork to secure the breast, then using your knife, just above the thigh and wing joints, make a deep horizontal cut through the skin and the breast meat, towards the bone. Place your knife along the side of the breastbone on the same side as you made the horizontal cut starting from the neck joint. Slice downwards, following the ribs of the bird. Try to get as much breast meat as possible in one piece, cutting along the breastbone and ribs until you slice through to the horizontal cut. You should be able to remove that side of the breast completely. Place the breast on the extra cutting board or platter, and repeat on the other side.
Set aside the carcass (don’t throw it away! You can make amazing stock with it!).
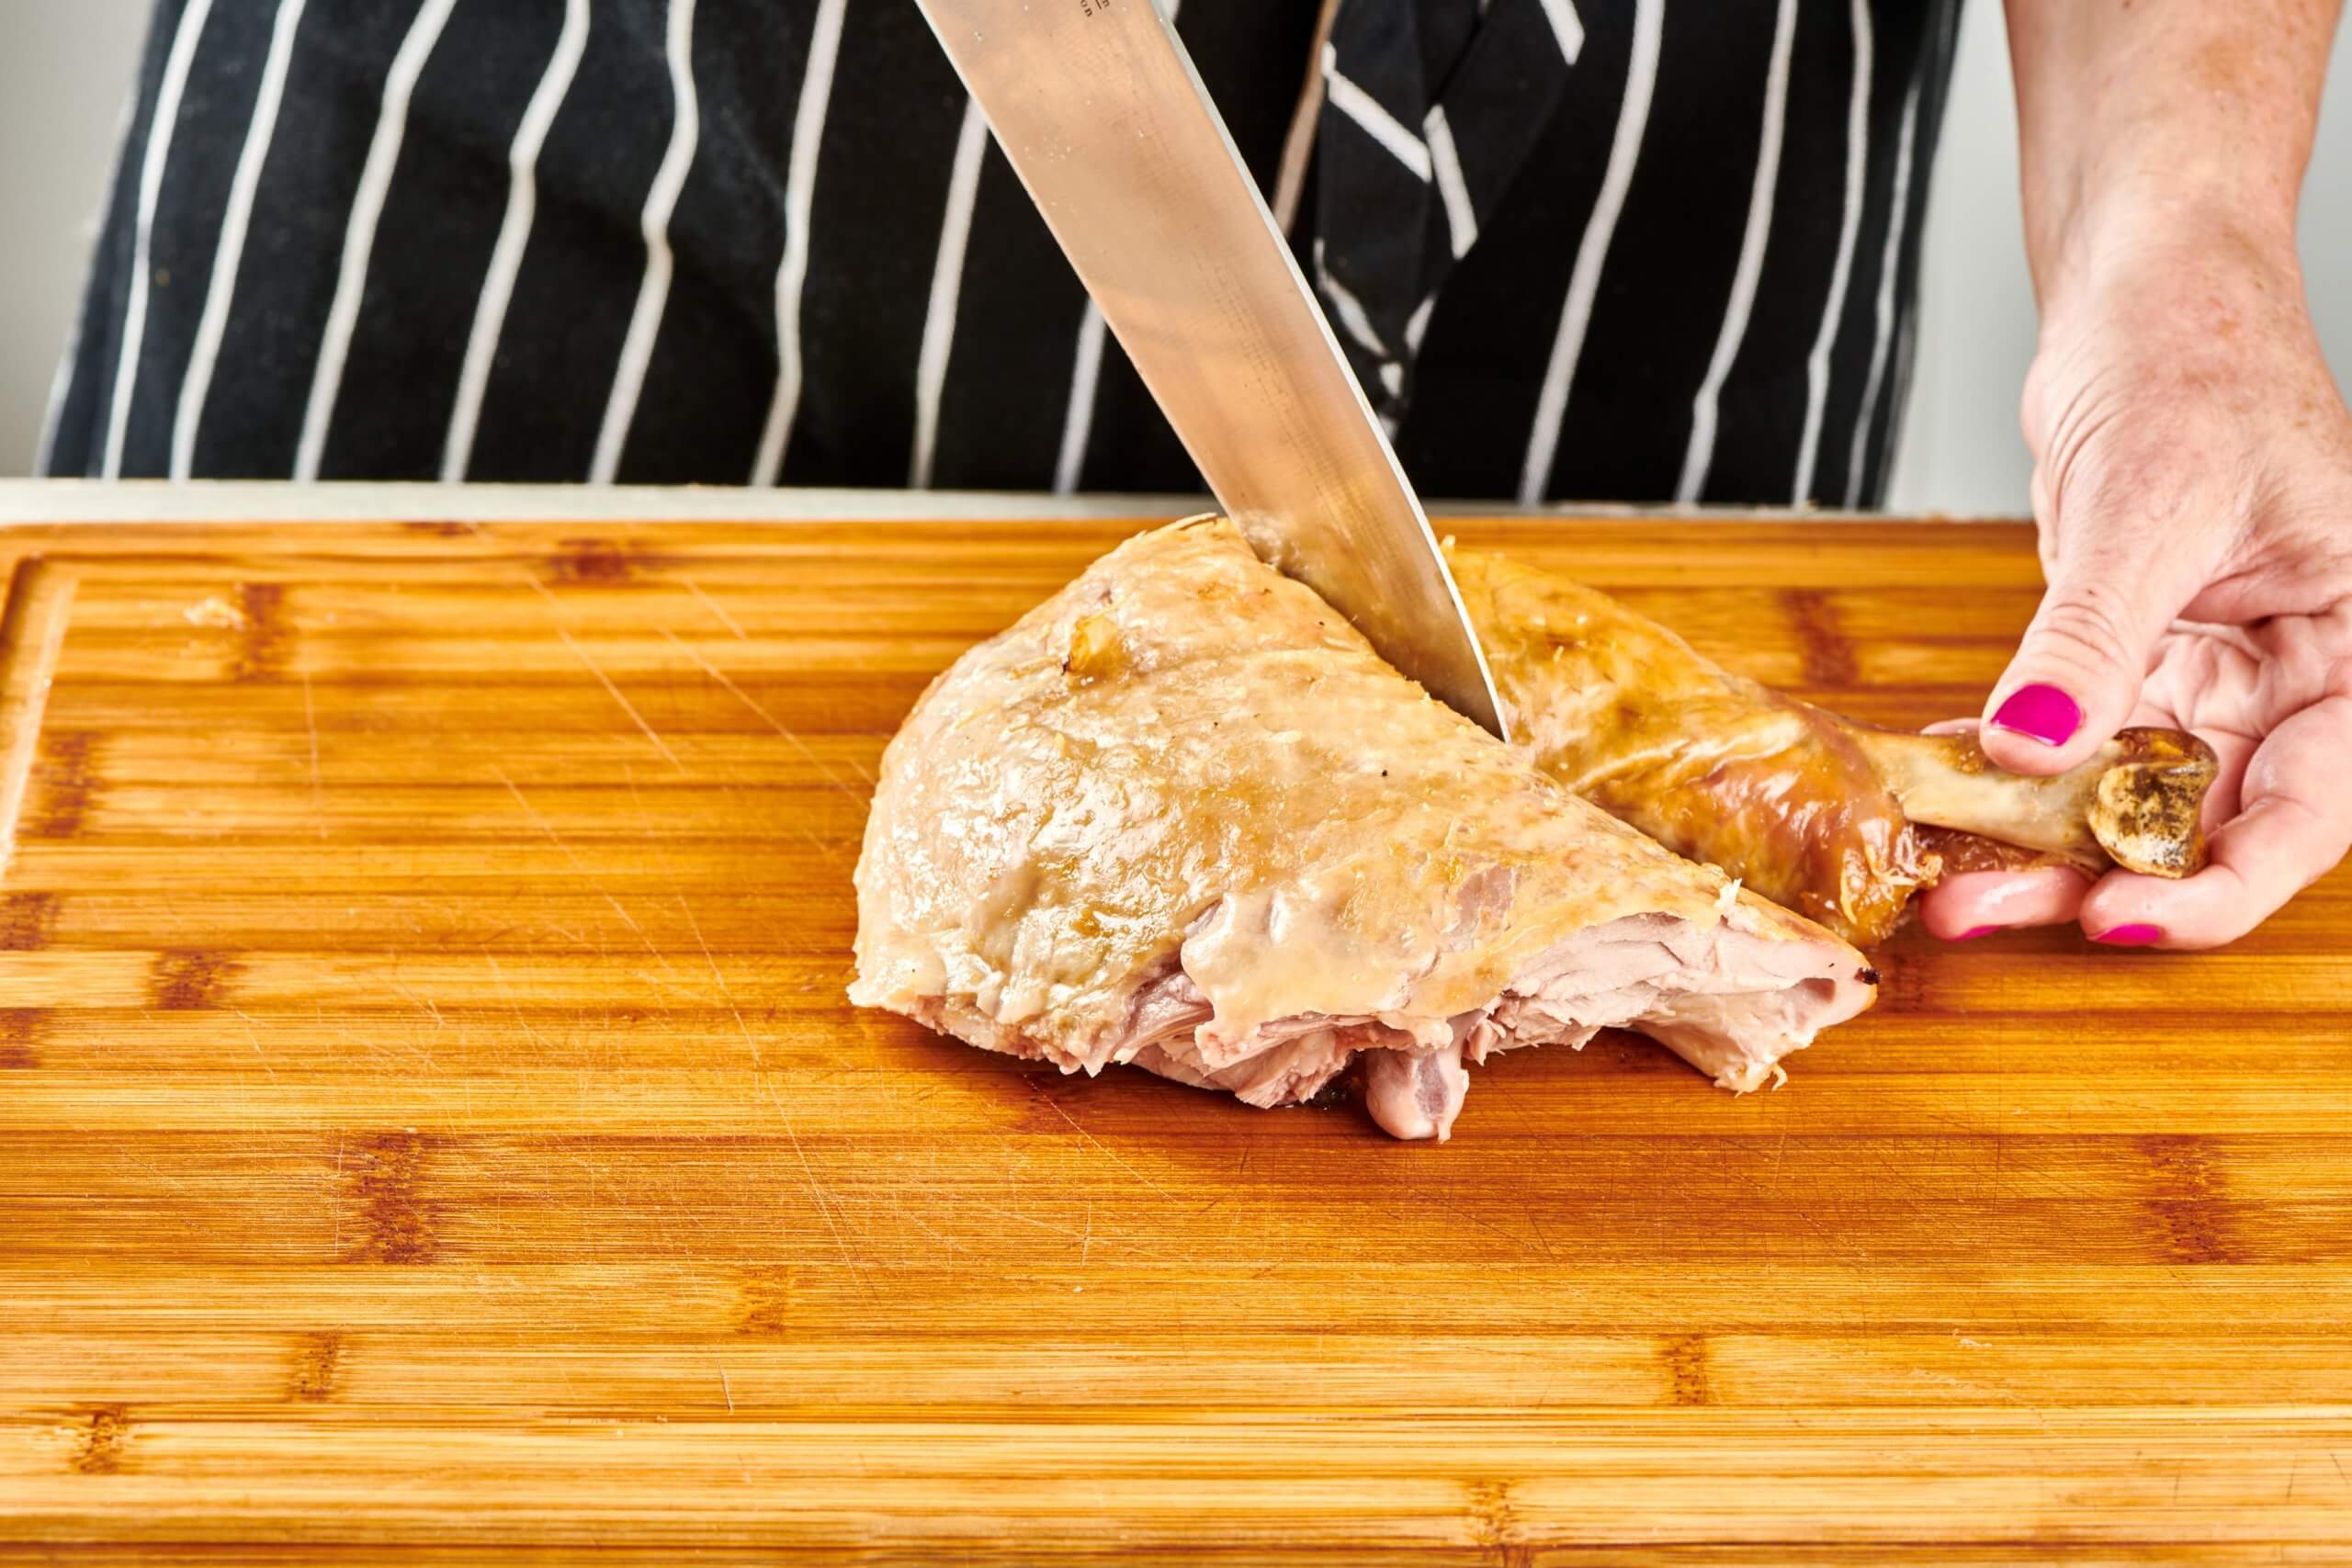
Step 4: Separate the thigh and the drumstick
Wipe down your cutting board. Return the turkey legs to the cutting board, skin side up. Separate the thighs from the drumsticks by slicing between them at the joint. Repeat with the other leg. Place the drumsticks on the serving platter.
Step 5: Slice the thighs
Cut the thigh meat from the bone following the length of the bone. Try to get the meat off in a few large pieces. Slices those pieces crosswise into slices about 1/3-inch thick. Transfer them to the serving platter, along with the drumsticks.
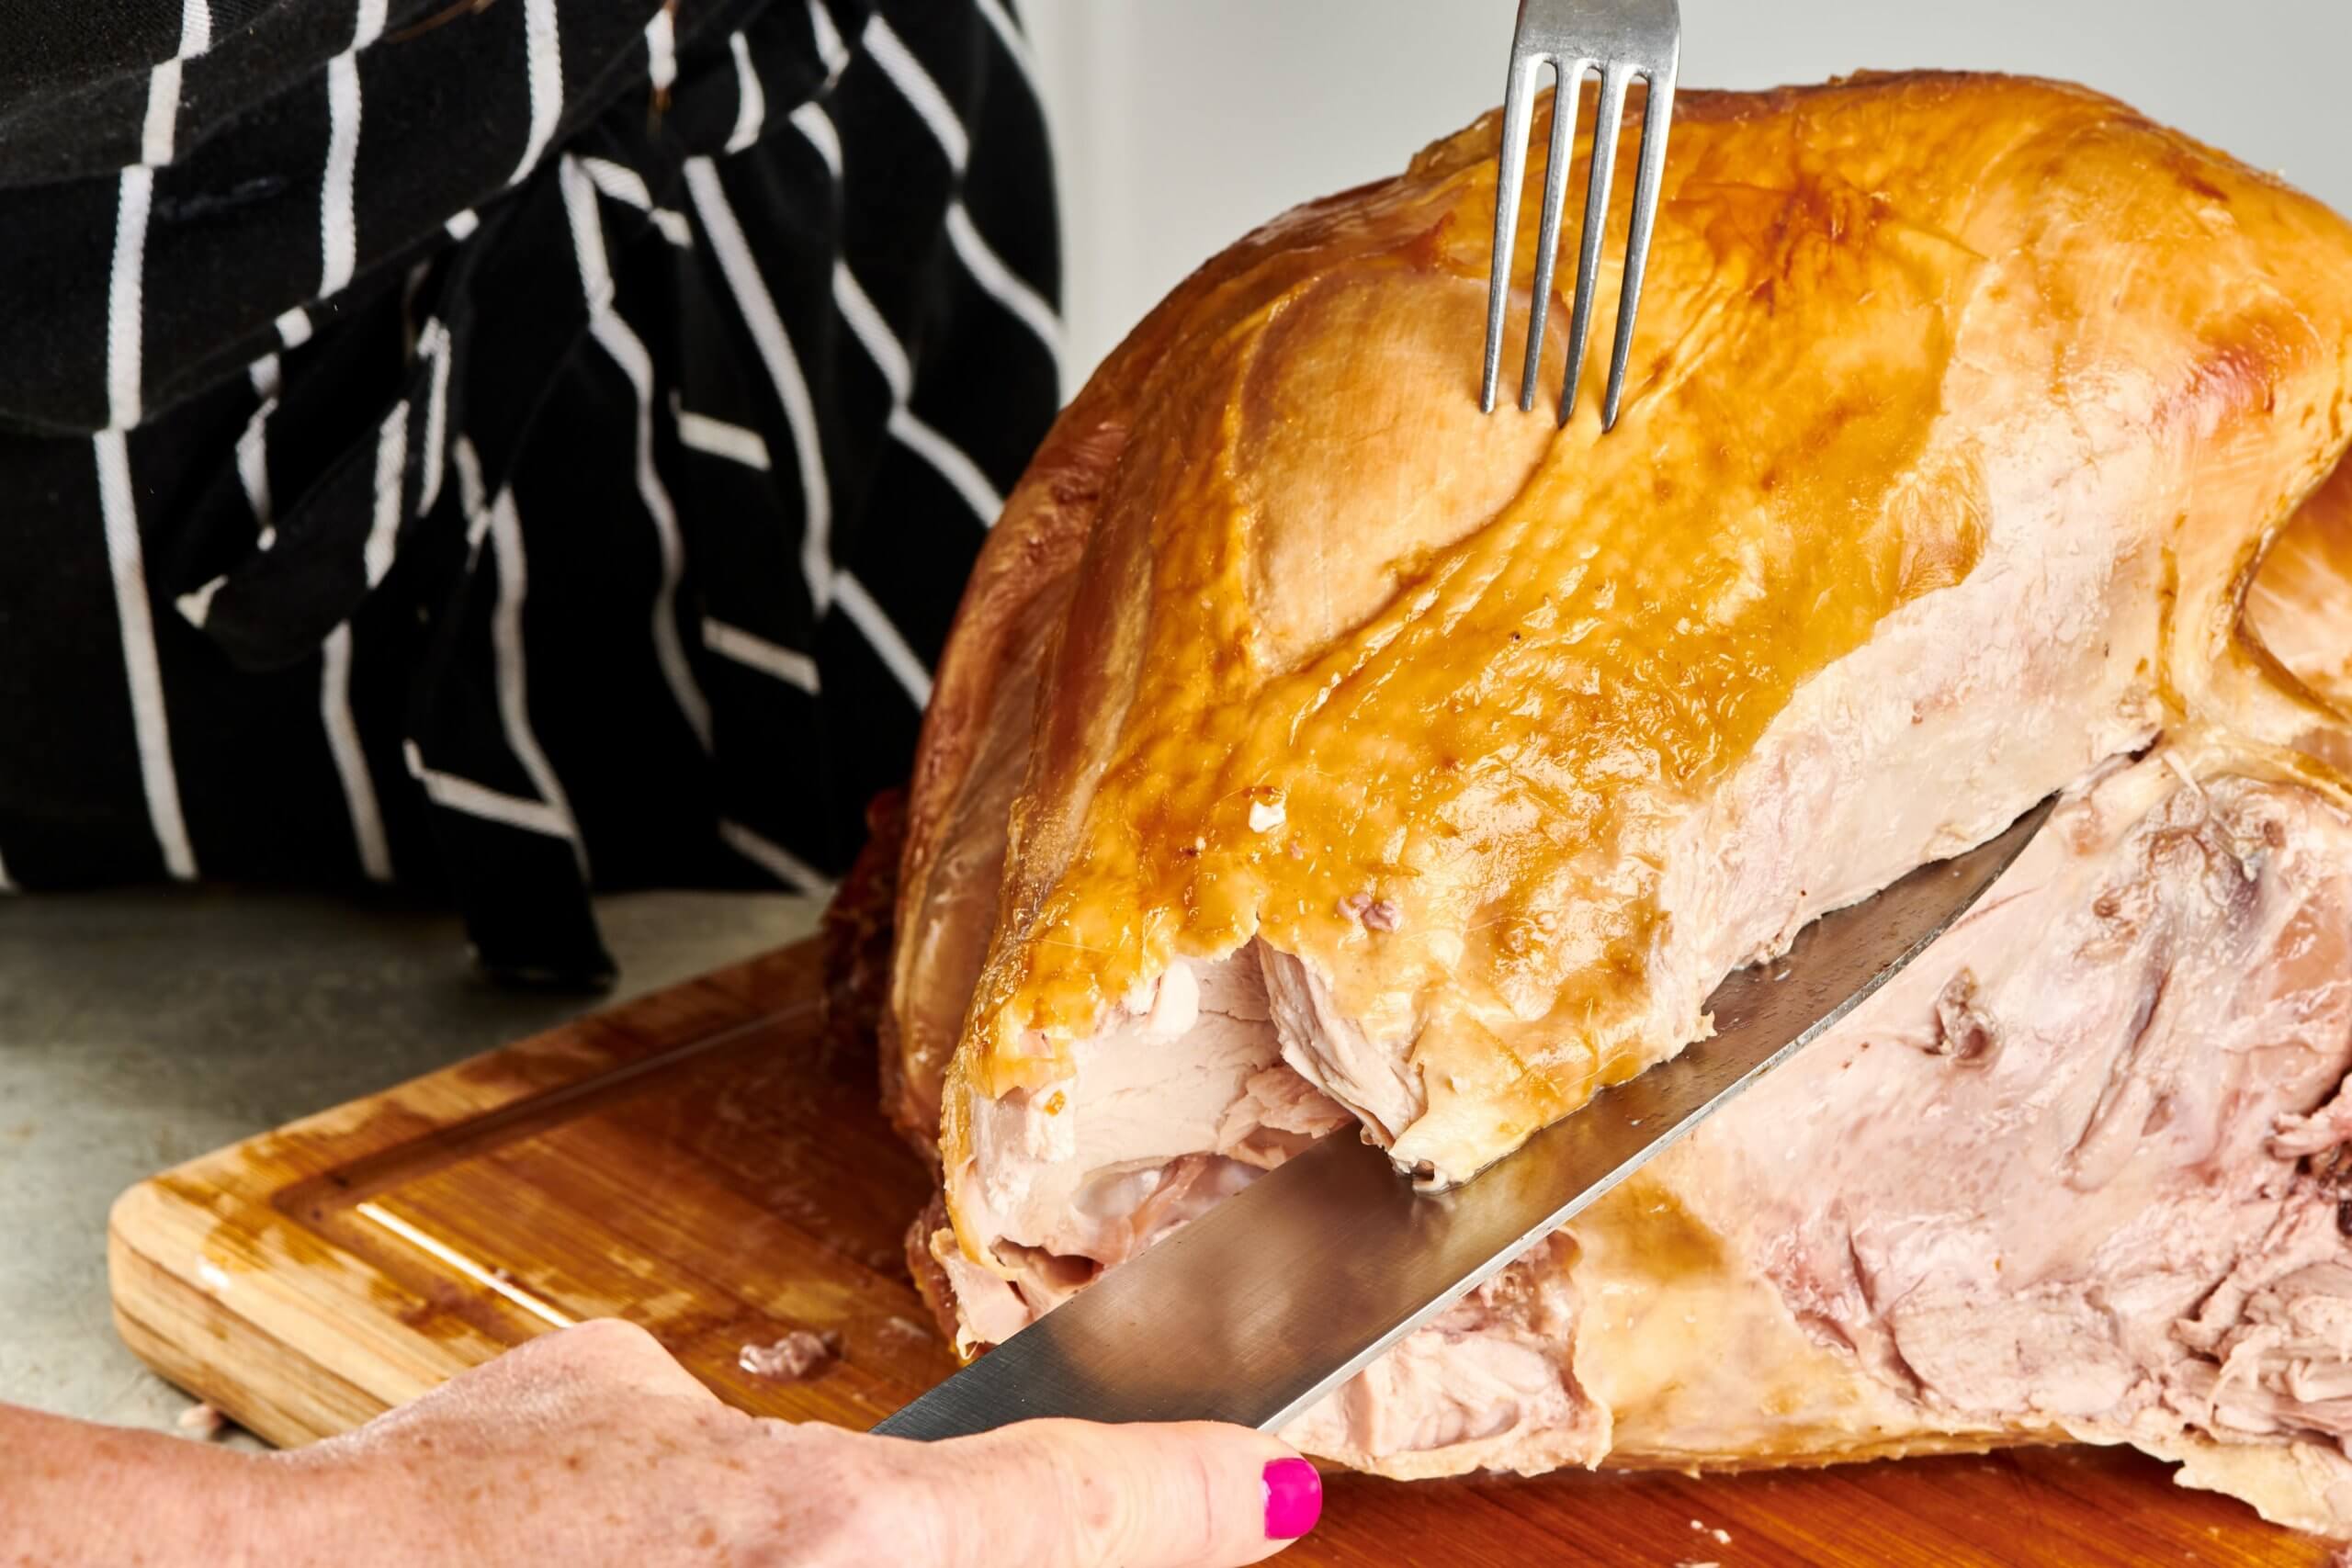
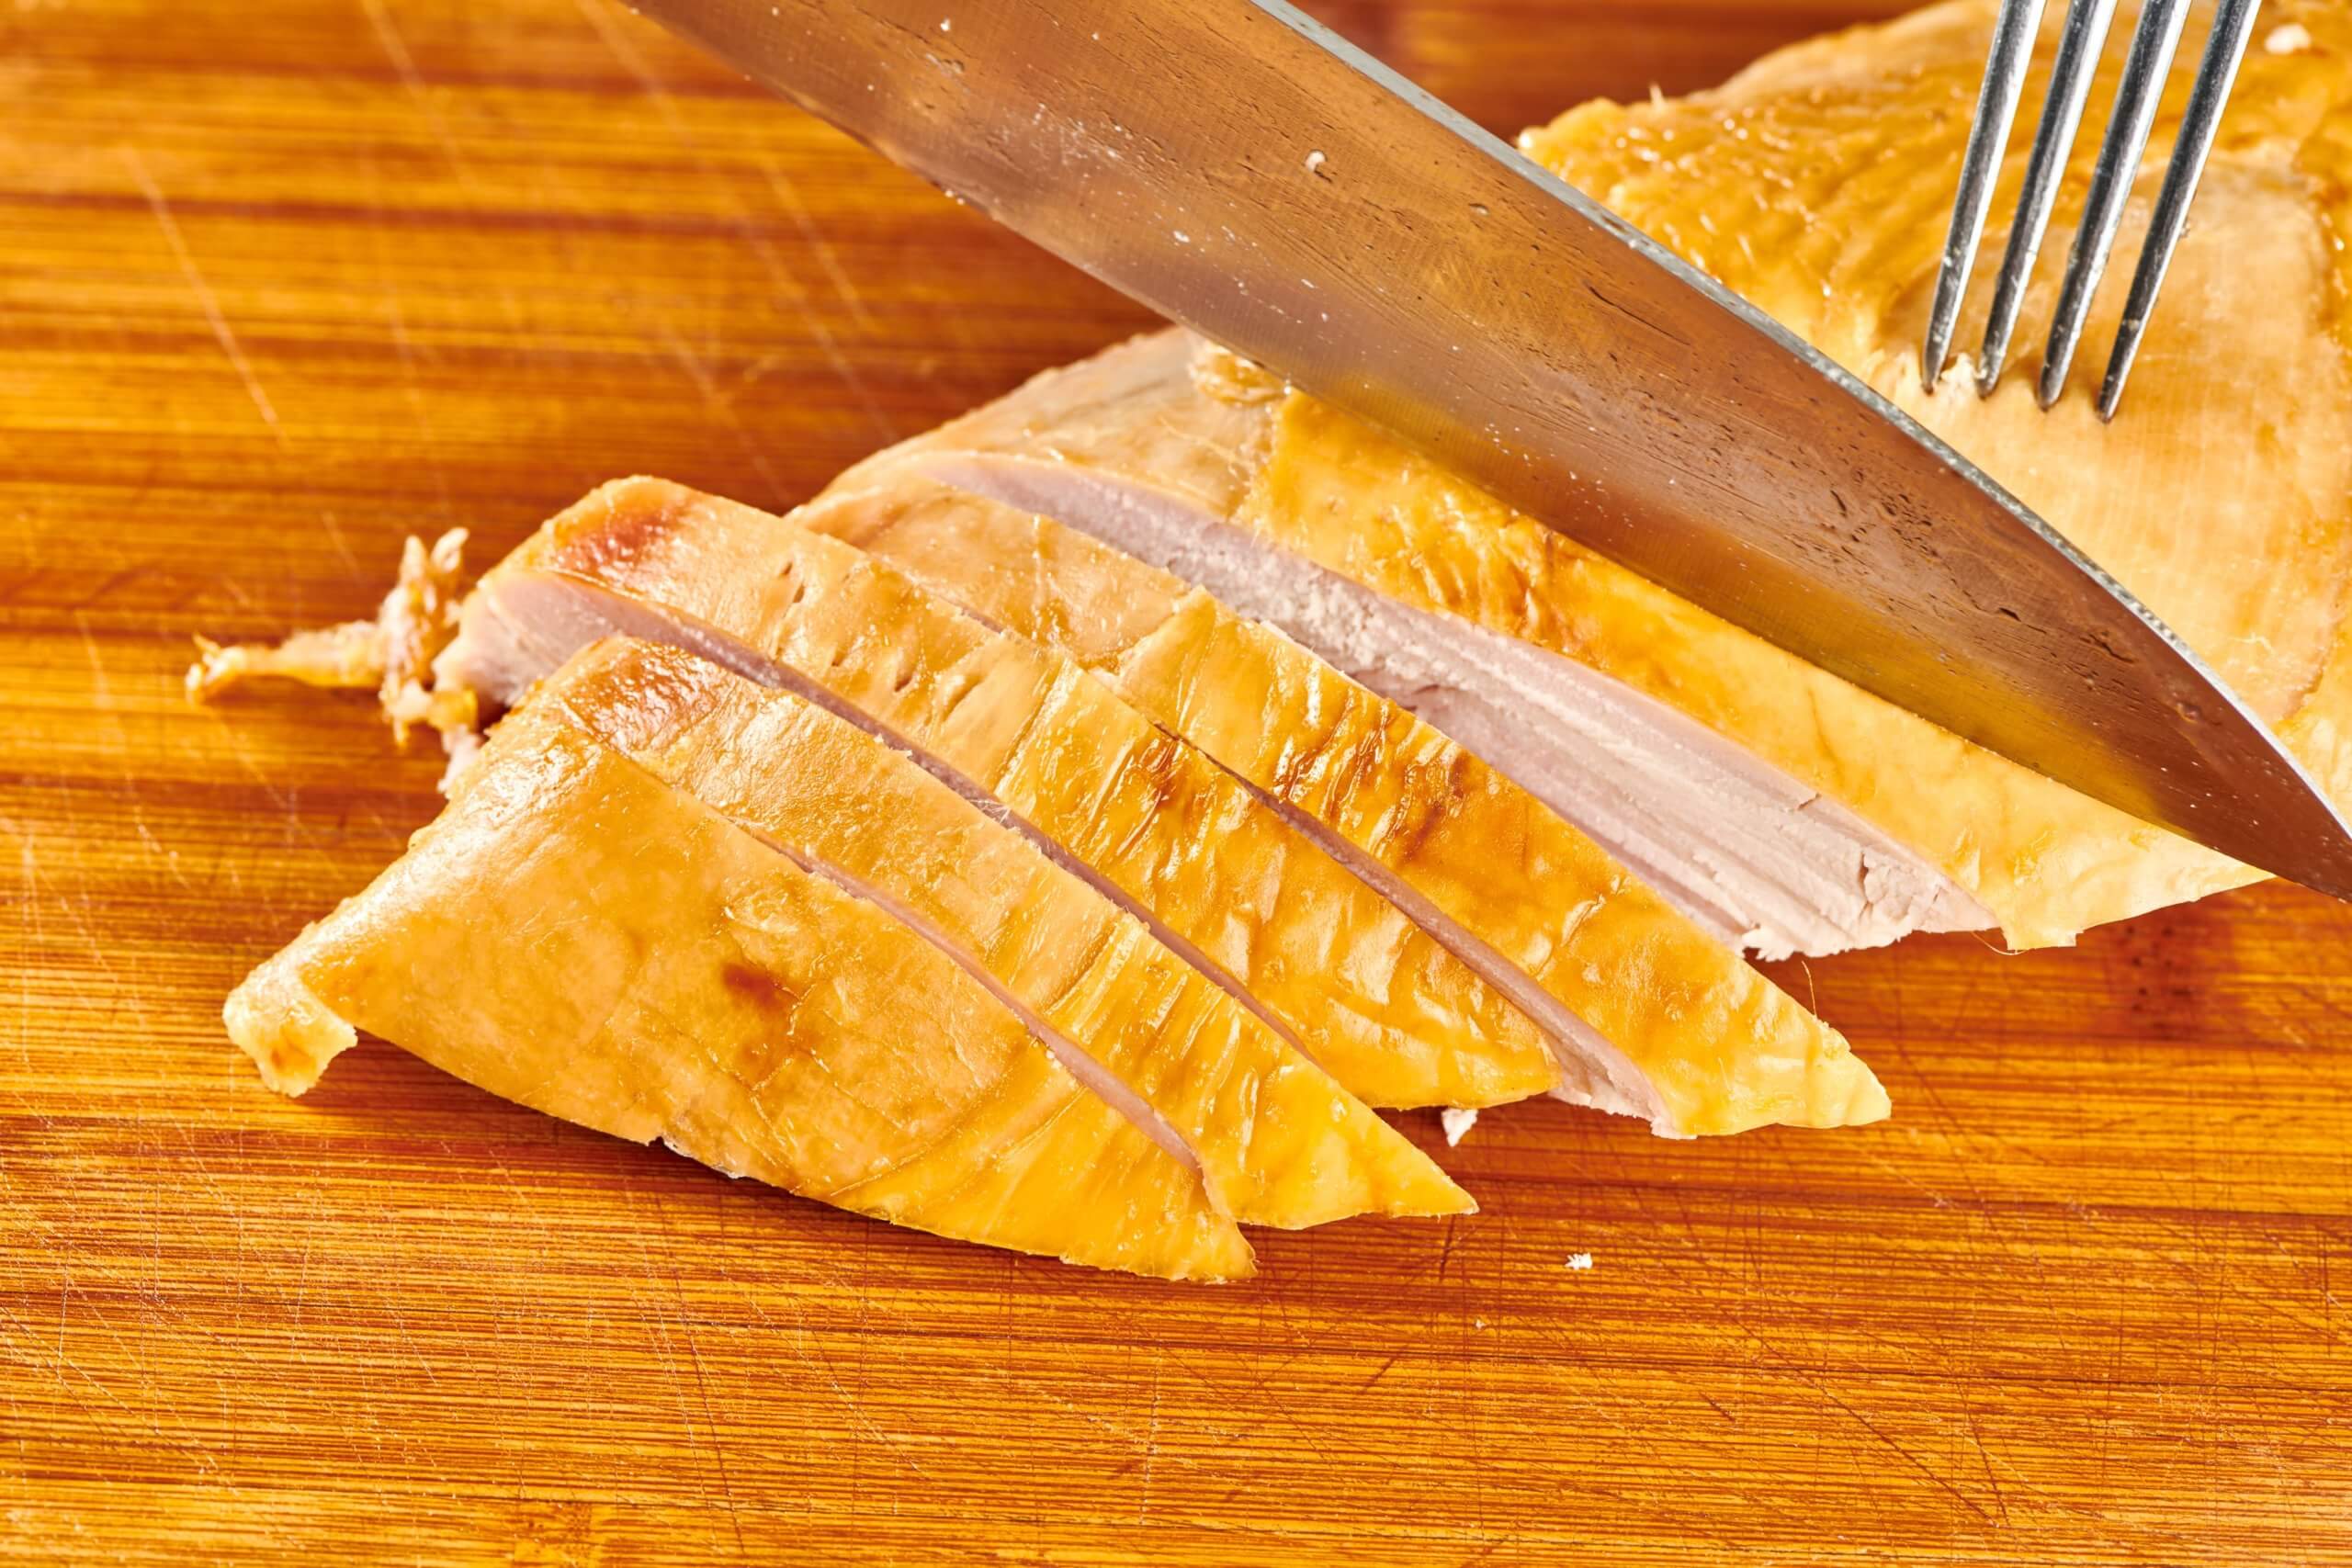
Step 6: Slice the breasts
Place the breasts skin side up on the cutting board. Cut each breast crosswise into slices as thin or thick as you like them, about 1/4 to 1/3-inch thick. You can carve the turkey thin-sliced or thick sliced, depending on how you like it for the holiday meal. Try to keep the slices stacked neatly together on the cutting board for the best presentation. Slide you knife or a spatula under the sliced breast, and transfer it to the serving platter, fanning out the slices.
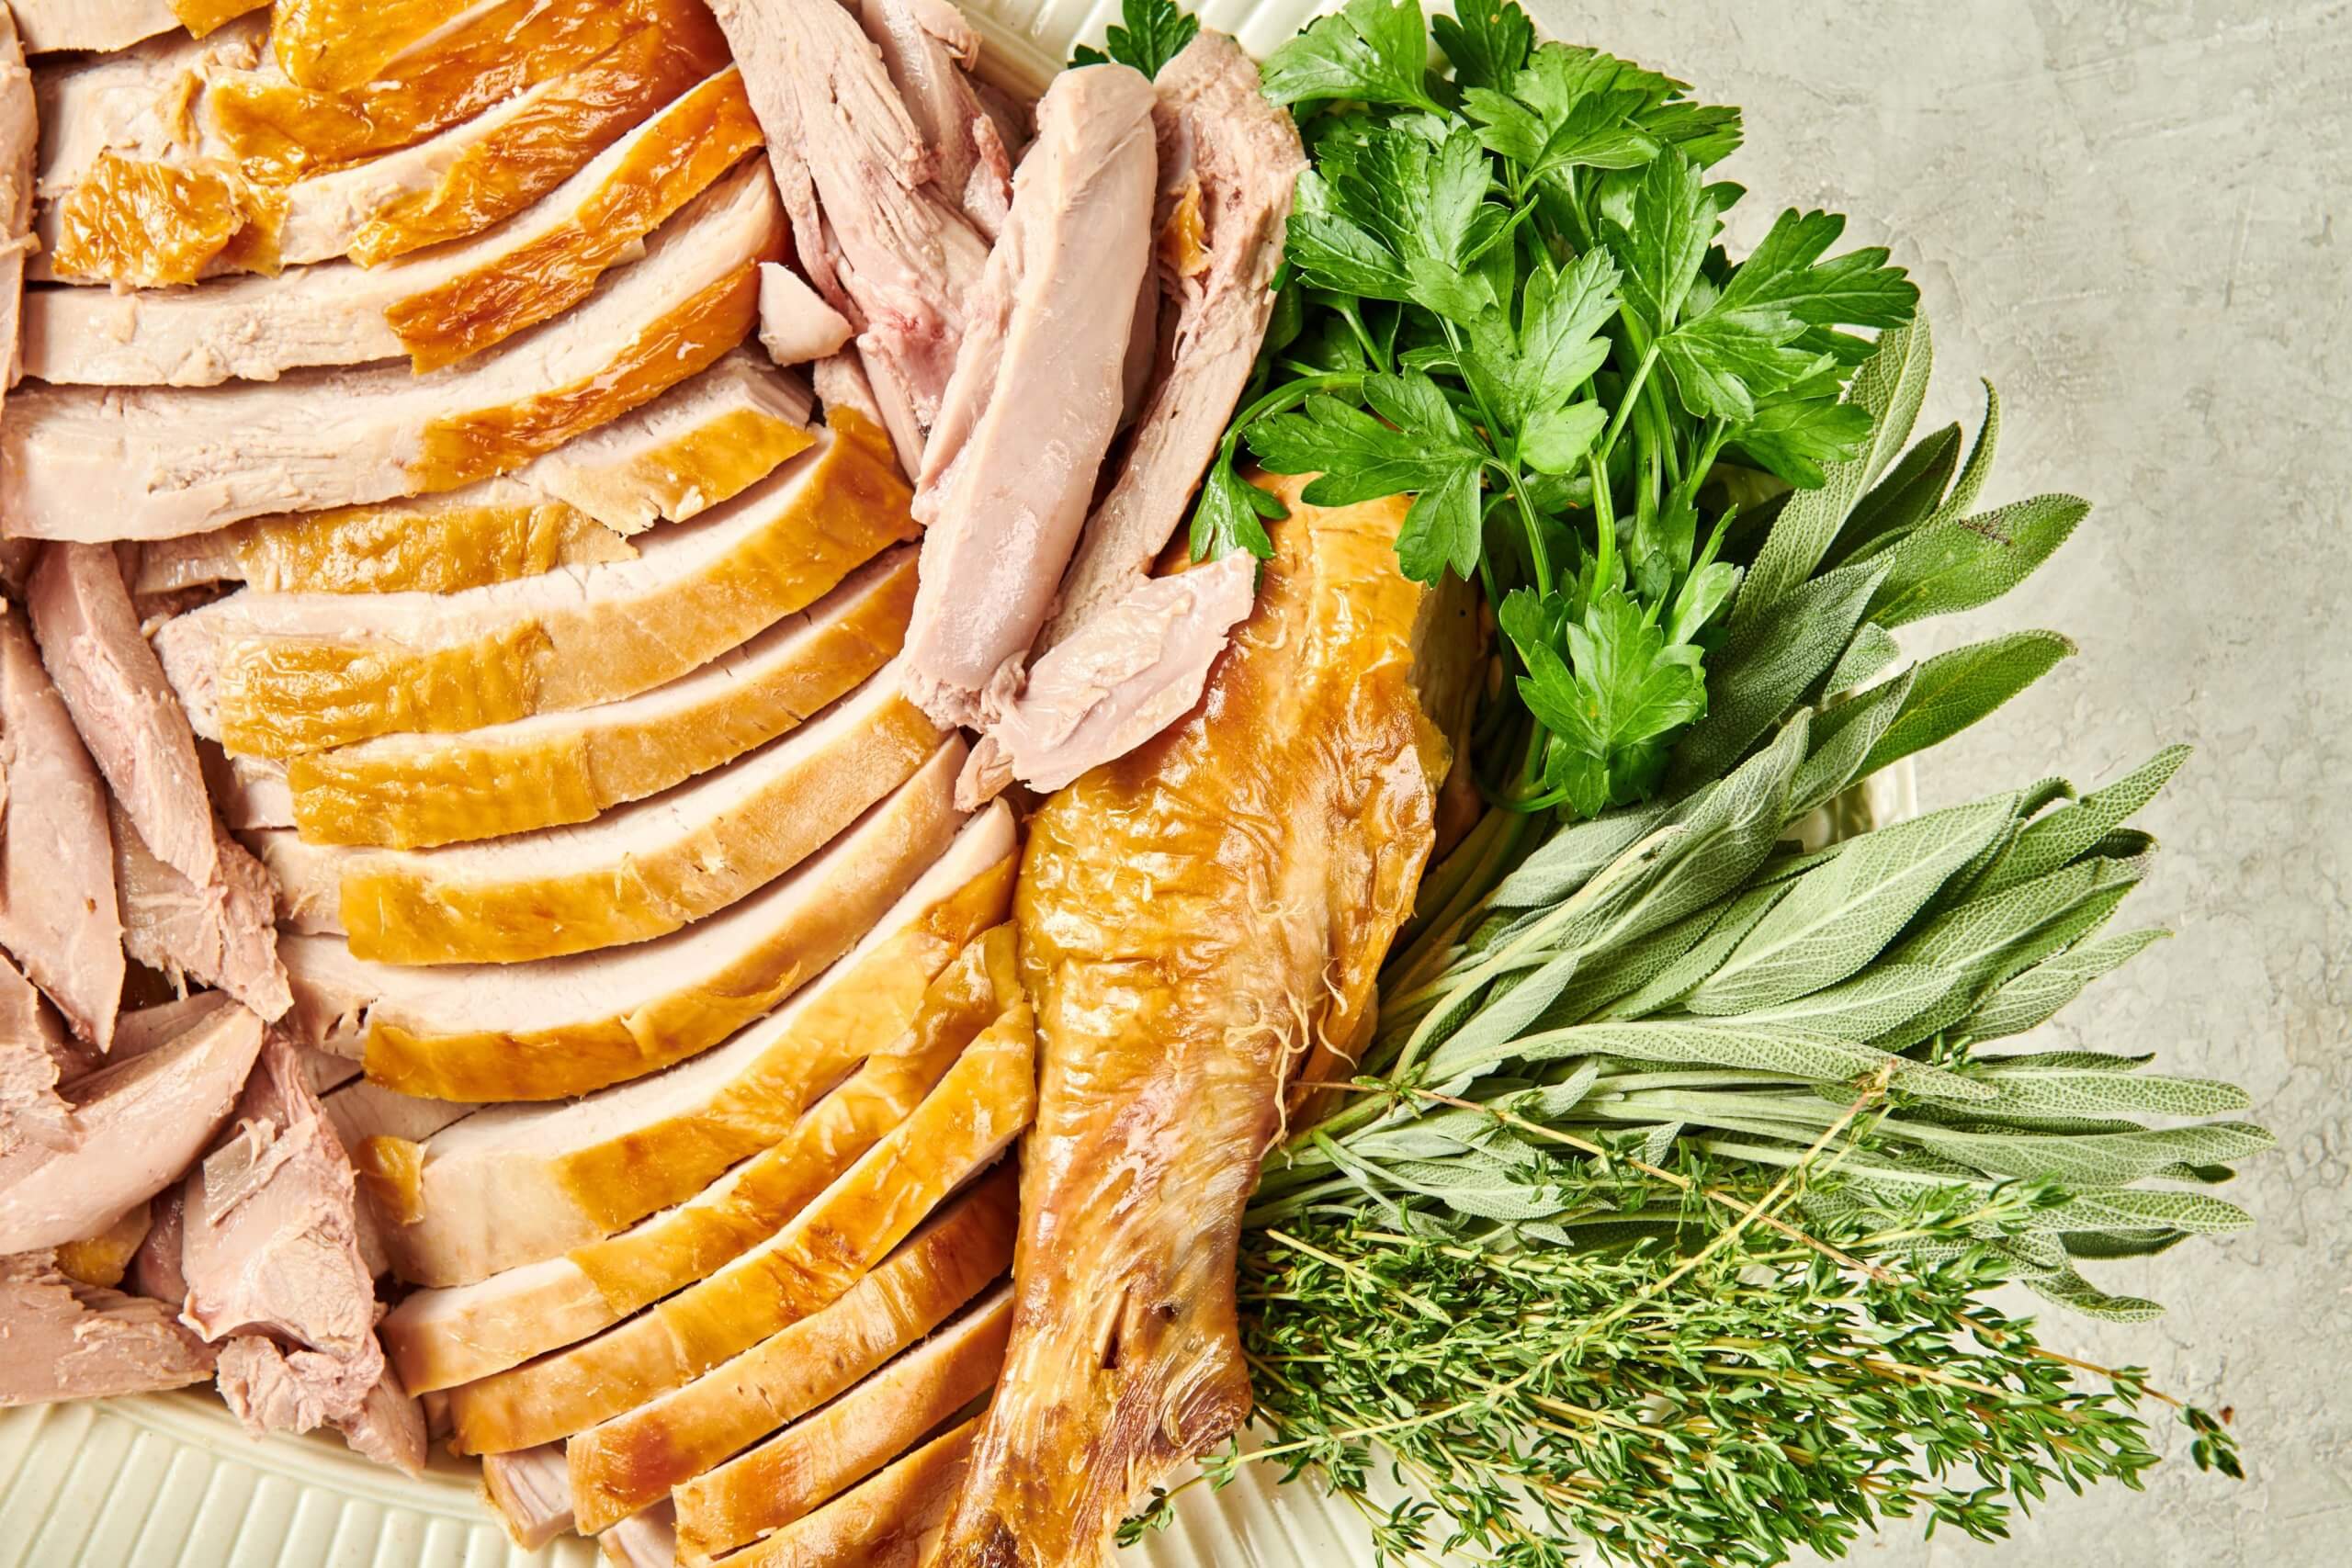
Step 7: Arrange the turkey on the platter
Rearrange the turkey if needed so that it looks fabulous, then add some garnishes if you like. Sprigs of fresh herbs are great: thyme, sage, rosemary or whatever you used to season your bird. You can also add some wedges of citrus, such as lemons, oranges, clementines or limes. Color is very helpful in making your gorgeous carved turkey look even more appealing.
Now that the job is complete, the next step is simple. Enjoy your meal!
For more information on putting together your Thanksgiving meal, head over to Thanksgiving 101.